Table of Contents
Key Takeaways:
- Proper installation of window blinds enhances both functionality and aesthetics.
- Choosing the right tools and materials is essential for a successful installation.
- Following a detailed process ensures blinds are securely fitted and effectively operated.
- Attention to detail helps avoid common installation mistakes and prolongs the lifespan of blinds.
Understanding the Importance of Proper Window Blind Installation
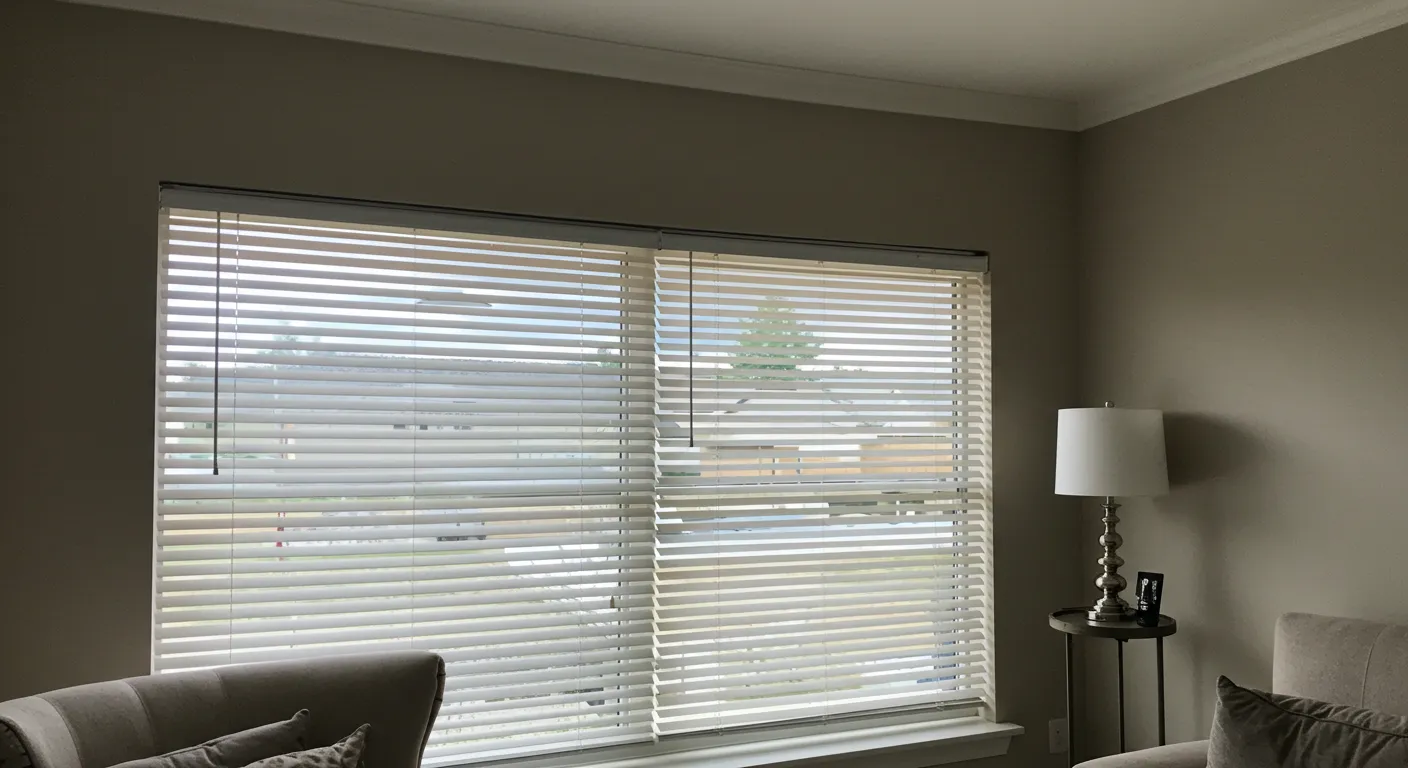
Window blinds are crucial in interior design and functional home management. They offer benefits ranging from privacy and glare control to aesthetic enhancement and heat retention. Installing blinds correctly is vital to capitalize on these advantages fully, ensuring they operate smoothly and look splendid. Companies like Seattle Blinds offer a wide range of options to consider for different home needs, but the installation process can be equally important as the blinds you choose.
Are you embarking on a DIY installation project? Don’t worry—with the right mindset and preparation, installing blinds is straightforward. This tutorial will take you step-by-step through the process of accurately and confidently transforming your living areas.
Tools and Materials Needed
Before diving into the installation, gather all necessary tools and materials. Everything you need will make the process smoother and more enjoyable.
Essential Tools:
- Drill and drill bits
- Screwdriver
- Tape measure
- Pencil
- Level
Materials:
- The blinds themselves
- Mounting brackets and screws (usually included with blinds)
- Safety goggles
Step-by-Step Installation Process
Step 1: Measure and Mark
Begin by measuring your window where the blinds will be installed. Measure the width and height accurately, noting these dimensions for both inside and outside mounts. Use a pencil to mark where the brackets should be placed. Precision is key here for both functionality and aesthetic uniformity.
Step 2: Install the Mounting Brackets
With your marks in place, use your drill to attach the brackets. Ensure that they are level and secure. Double-check before drilling, as misalignment can lead to operational issues or damage to your window frame.
Step 3: Attach the Headrail
Once the brackets are secure, attaching the headrail is next. This critical step usually involves snapping the rail into brackets, so ensure it’s aligned properly. Consulting the specific instructions that accompany your blinds can provide additional clarity here.
Step 4: Install the Valance
The valance, optional for some blinds, adds a finished look by covering the headrail and any hardware. Follow the instructions provided with your blinds to attach them securely.
Step 5: Final Adjustments and Testing
After installation, test the blinds to ensure they raise, lower, and tilt without issue. Adjust any components that aren’t functioning properly to guarantee smooth operation. If you find adjustments are needed, they are typically minor but require prompt attention to prevent long-term wear.
Common Installation Mistakes to Avoid
Running through the installation procedure too quickly can result in a number of problems. Some common mistakes include inaccurate measurements, inadequate support for heavy blinds, and failure to level brackets. These can lead to inefficient functioning or even damage over time. Being meticulous throughout the process reduces these risks and contributes to a successful installation.
Check out this helpful guide for more insights into avoiding common DIY mistakes.
Maintaining Your Blinds for Longevity
After installation, ongoing maintenance is crucial to ensure your blinds remain in excellent condition. Regular cleaning, which might involve dusting and periodic deep cleaning, can prevent buildup and prolong the blinds’ appearance and effectiveness. Be gentle with cleaning solutions to avoid damaging materials, particularly fabric or wood blinds.
Final Thoughts and Considerations
Taking the time to understand and execute the installation of window blinds can significantly enhance your home’s style and functionality. Every stage is essential to the project’s success, from precise measurement to last-minute modifications. With careful preparation and attention to detail, your home can benefit from the beauty and efficiency of well-installed blinds. And remember, if you ever feel overwhelmed, professional services such as those offered by Seattle Blinds are always an option to ensure perfect installation and peace of mind.